How to Cybele
Cybele is not an anatolian goddess, actually it is but we’re not talking about her.We’re talking about a rails gem.It’s an awesome tool to start a new project.It has everything you need when you develop a professional website.In short, it is a starting template.
Before I start I have to mention my friend mrk because he inspired me to write this.Since he does not seem to write an english version of his,I feel obligated to write for developers all around the world.ıf you wanna read his stuff, click here
Here we go, first we need to install redis and sidekiq to take care background jobs and cybele works in rails 4.2.x versions right now if you’re using Rails 5 or one of older versions you need to change it to 4.2.After that just install cybele gem using:
gem install cybele
Then just start a project by writing:
cybele project_name
on your terminal.Then set your local environment variables and access token in config/initializers/rollbar.rb.
ROOT_PATH=http://localhost:3000
SMTP_PASSWORD=
SMTP_USER_NAME=admin@deneme.com
SMTP_ADDRESS=smtp.sendgrid.net

BASIC_AUTH_IS_ACTIVE=no
S3_BUCKET_NAME=deneme-v3-staging
AWS_RAW_URL=deneme-v3-staging.s3.amazonaws.com
AWS_ACCESS_KEY_ID=
AWS_SECRET_ACCESS_KEY=
You can get detailed info about setting your local variables from here.After that in your migration folder set your default values for is_active and time_zone variables in Admin and User models.Be sure that you do this changes before the rake db:migrate command.

After setting the migration file, change username and password in /config/settings.yml as you like.Then in public folder run this command
ln -s ../VERSION.txt VERSION.txt
This was the final step if you know how to use postrgresql because cybele uses postgresql.If you don’t have postgresql,you can install by running this command on your terminal
sudo apt-get update
sudo apt-get install postgresql postgresql-contrib
If you already have it, open the psql using this command
sudo -u postgres psql
After that you need to create a database and a user.Before this step just be sure that you add a username and a password in your config/database.yml file.When you are creating a database,database name should match on your database name in database.yml file.If probably be like name_of_your_app_ development.So you should run a command like this
CREATE DATABASE "project_name_development";
When creating user
CREATE USER user_name WITH PASSWORD 'password'
after this we need to alter our user as superuser
ALTER USER user_name WITH SUPERUSER
Now we can leave our psql writing /q or simply using ctrl+d and creat our database and migrate it using
rake db:create
rake db:migrate
rake dev:seed
Finally we can run the server but before that make sure you run the redis each time because redis is back tracking our app.So run this
redis-server
aaand
rails s
tadaaa
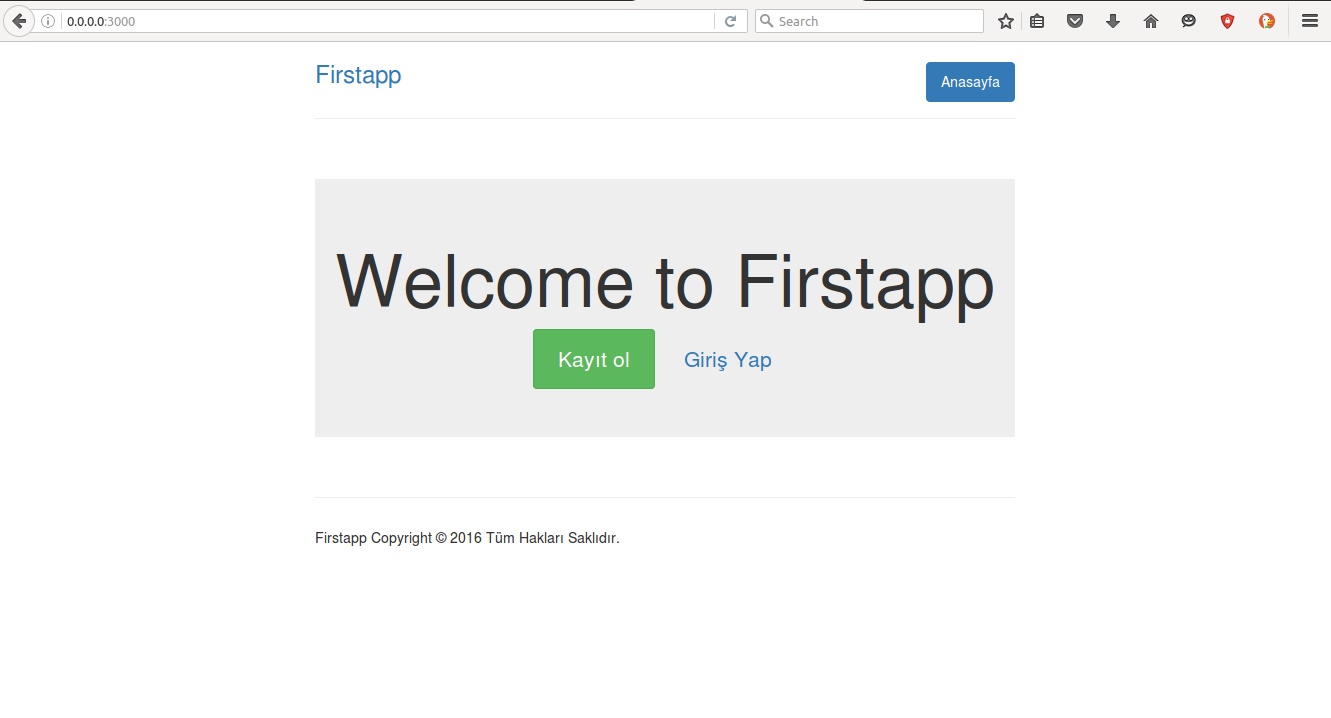
You can wonder its admin panel just using
0.0.0.0:3000/hq
the password and and username is in seeds.rb file, that’s because you sholdn’t forget to run rake dev:seed
Thanks for reading..